
Announcing the Point In Time Scheduler Public Preview
06 Jan 2022Update: In November 2022 AWS has released the EventBridge Scheduler. It does what I expect from a serverless scheduler, and has a free tier of 14 million invocations per month. Therefore, I’m deprecating this project.
Back in 2019 we’ve seen a lot of articles covering mechanisms for serverless ad-hoc scheduling. It’s clear that developers want to schedule events while benefiting from serverless principles like pay-per-usage, scaling to zero, and not having to run yet another cluster yourself.
We use the term ad hoc scheduling for irregular point in time invocations, e.g. one in 32 hours and another one in 4 days.

Yan Cui wrote about DynamoDB’s TTL, StepFunctions and CloudWatch. Paul Swail gave an overview of AWS scheduling primitives, and Zac Charles showed many ways one can schedule events. I joined the party with the Serverless Scheduler.
Some people use ad hoc scheduling to move workloads into the night, others for an exponential backoff that can span hours, days or weeks. You can probably come up with many more use cases.
There are some properties of existing AWS services that may help you:
- If you only need up to 15 minutes of delay, use SQS’ DelaySeconds.
- If you need up to a year and are okay with StepFunctions’ higher price, use StepFunction’s Wait task.
- If you’re okay with a delay of up to 48 hours, use DynamoDB’s time to live mechanism.
Didn’t find a match or don’t want to operate it yourself? Then this announcement is for you!
Today I’m proud to announce the public preview of the Point In Time Scheduler.
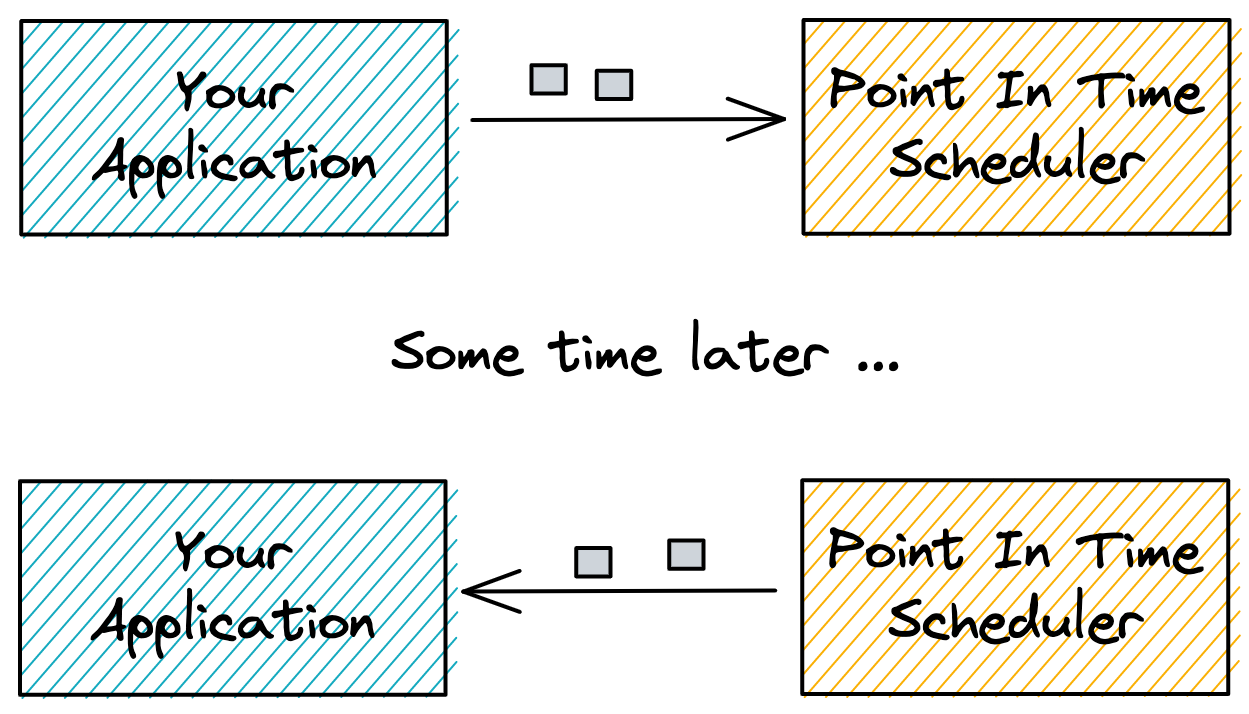
With the Point In Time Scheduler developers can specify when and how their endpoint should be invoked. They can do so for any time into the future, be it minutes, weeks, or years. Messages come back with latency of no more than 5 seconds. You only pay for what you use, and don’t have to waste engineering time operating a scheduler.
For feedback, you can reach me via Twitter.
Getting Started
To start using the Point In Time Scheduler, head over to the dashboard and sign in.
There are four main steps:
- Create an endpoint where the scheduler will send messages to
- Register an application with that endpoint and get an API key
- Schedule a message
- Receive a message
If you don’t have an endpoint for callbacks yet, you can use webhook.site.
There is also a demo application for you that sends and receives messages. The demo is built with the Serverless Framework and you can deploy within minutes, if you already have an AWS account. The demo has functions for sending and receiving messages, so you only have to deploy it, configure it, and wait for metrics to arrive in CloudWatch.
Register an Application
Once signed in you can register an application. An application gives the scheduler information about where to send messages, and how to authorize itself. The authorization that you specify here is the one that your endpoint requires.
In the first step choose the integration type REST. Then click on next.
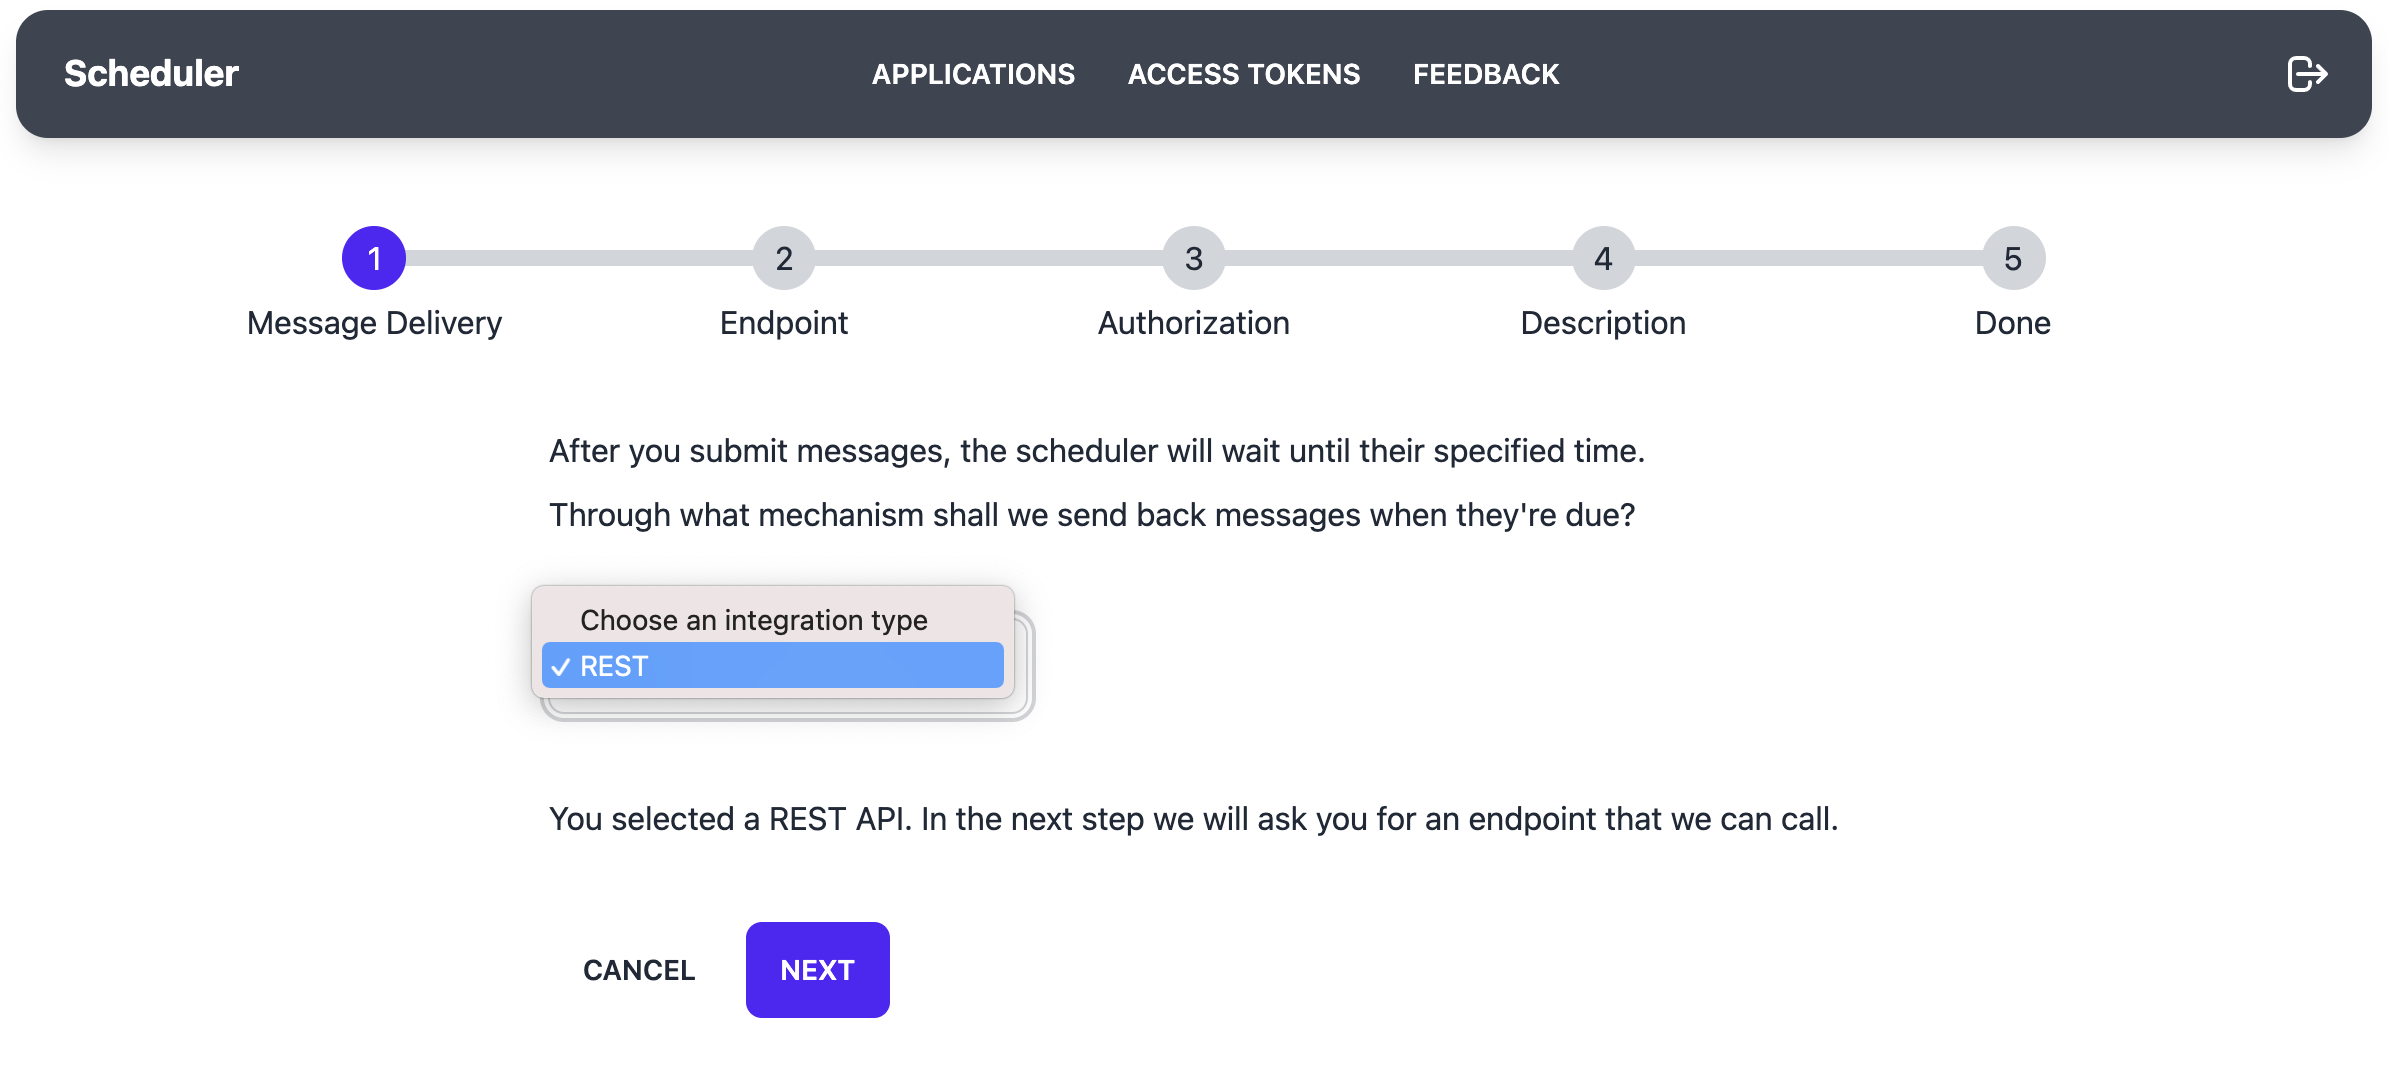
Currently, the scheduler only supports REST endpoints. SQS, EventBridge and SNS will be become available in the next weeks. Let me know what I should add first!
In the next step enter the URL of the endpoint for receiving messages. If you have an API with an endpoint https://example.com/callback,
that would be the URL you put in when registering an application.

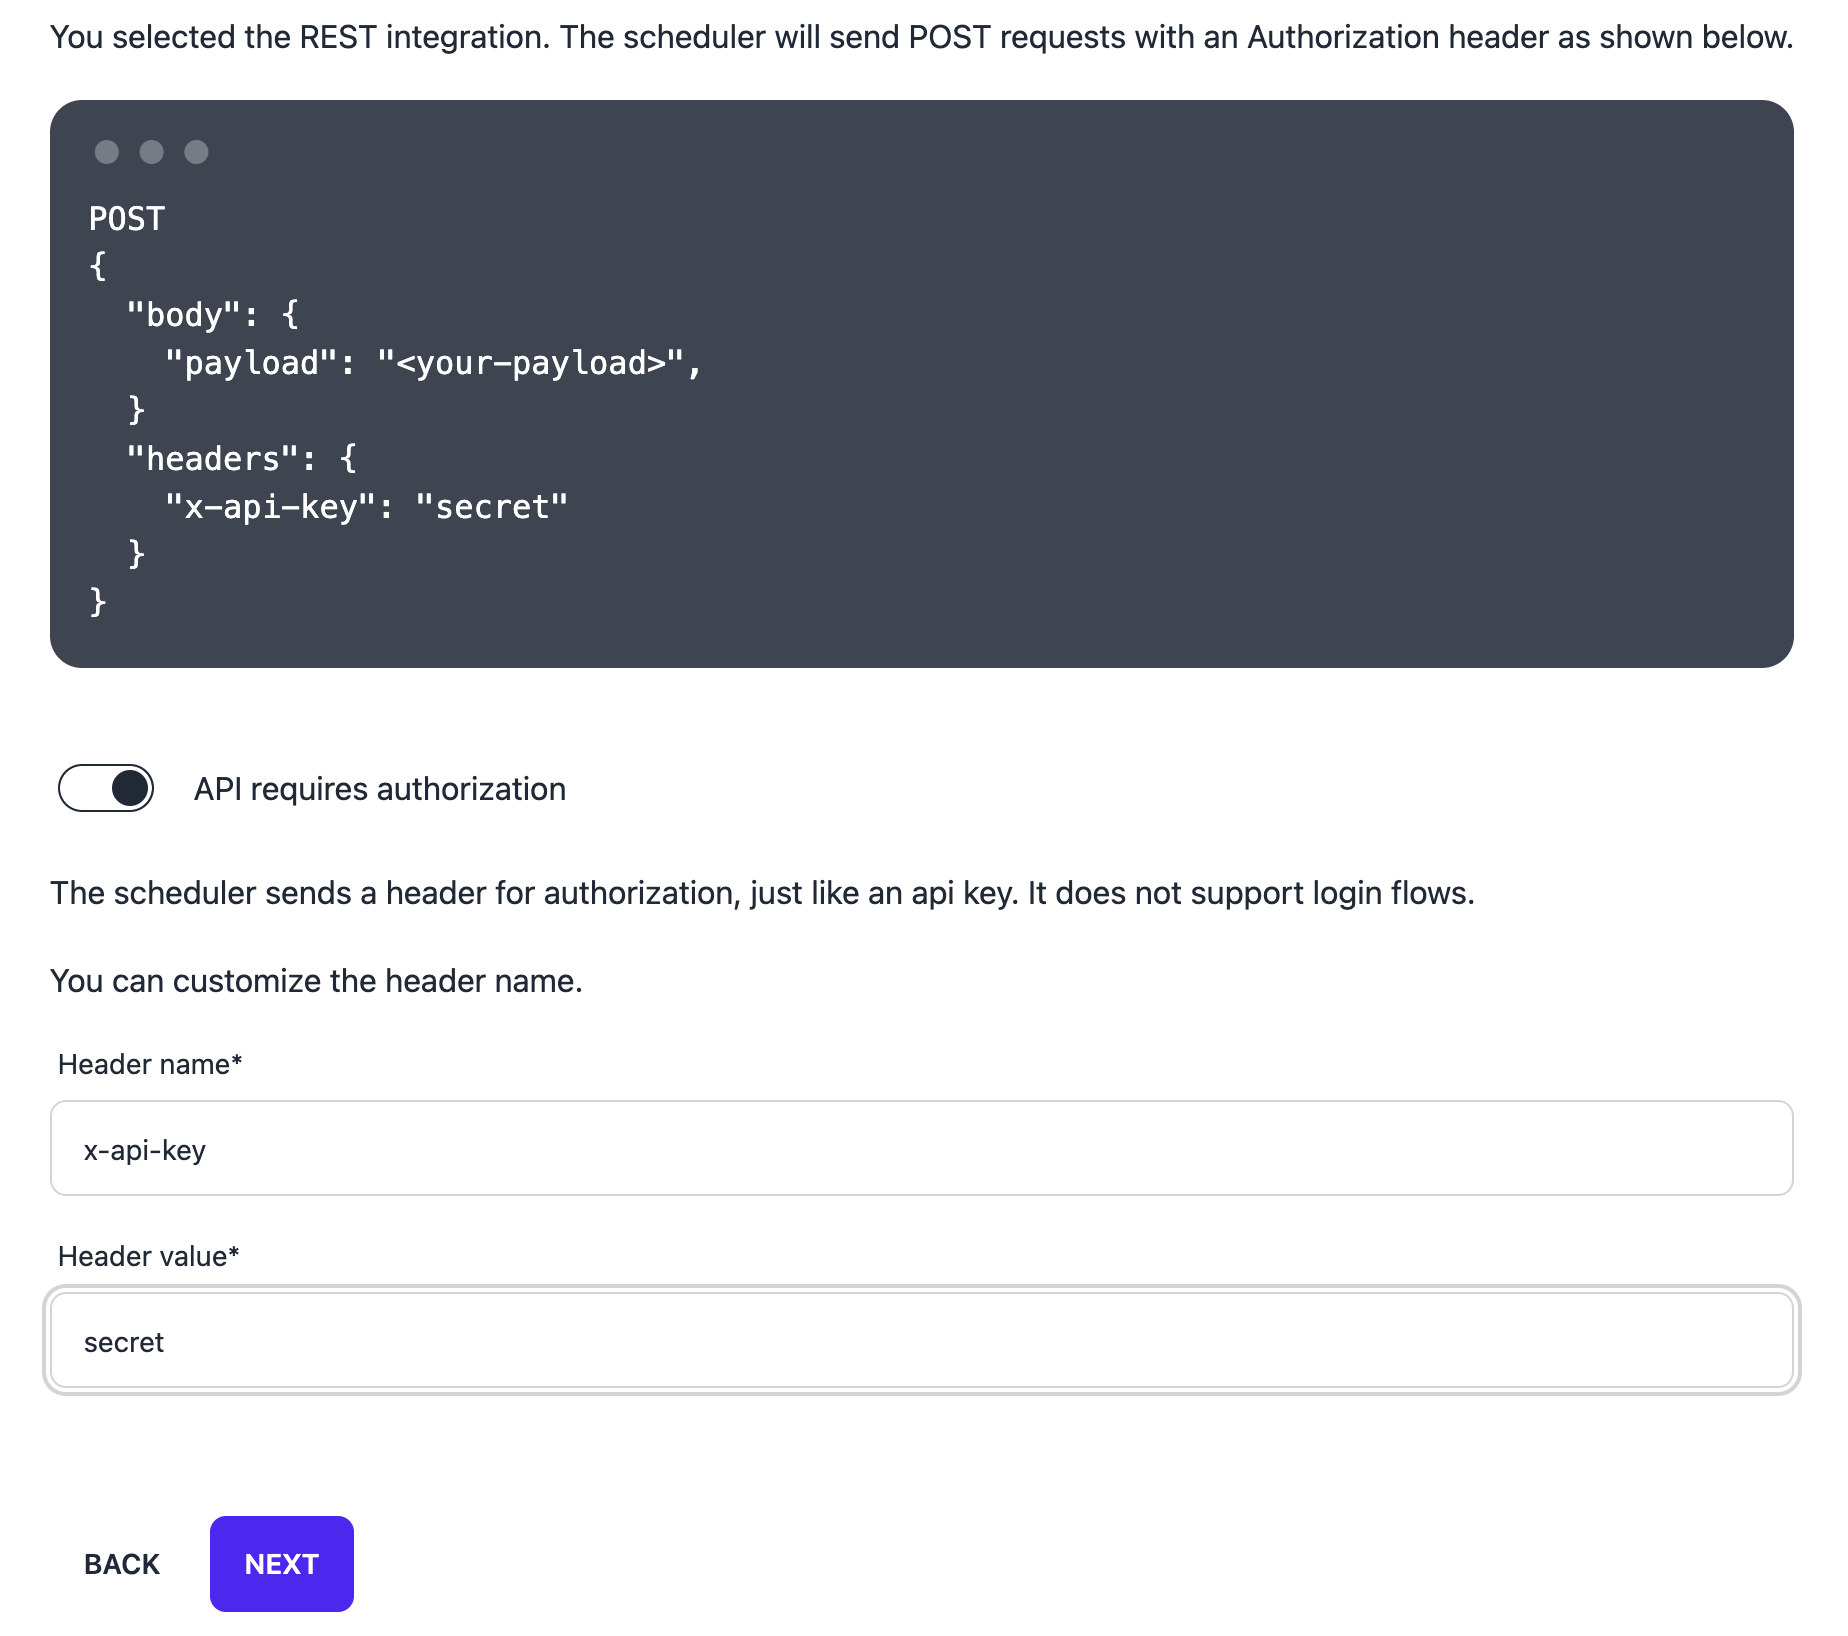
In the following step you specify the authentication as a header name and header value. You can use an Authorization header,
an x-api-key header, or anything else.
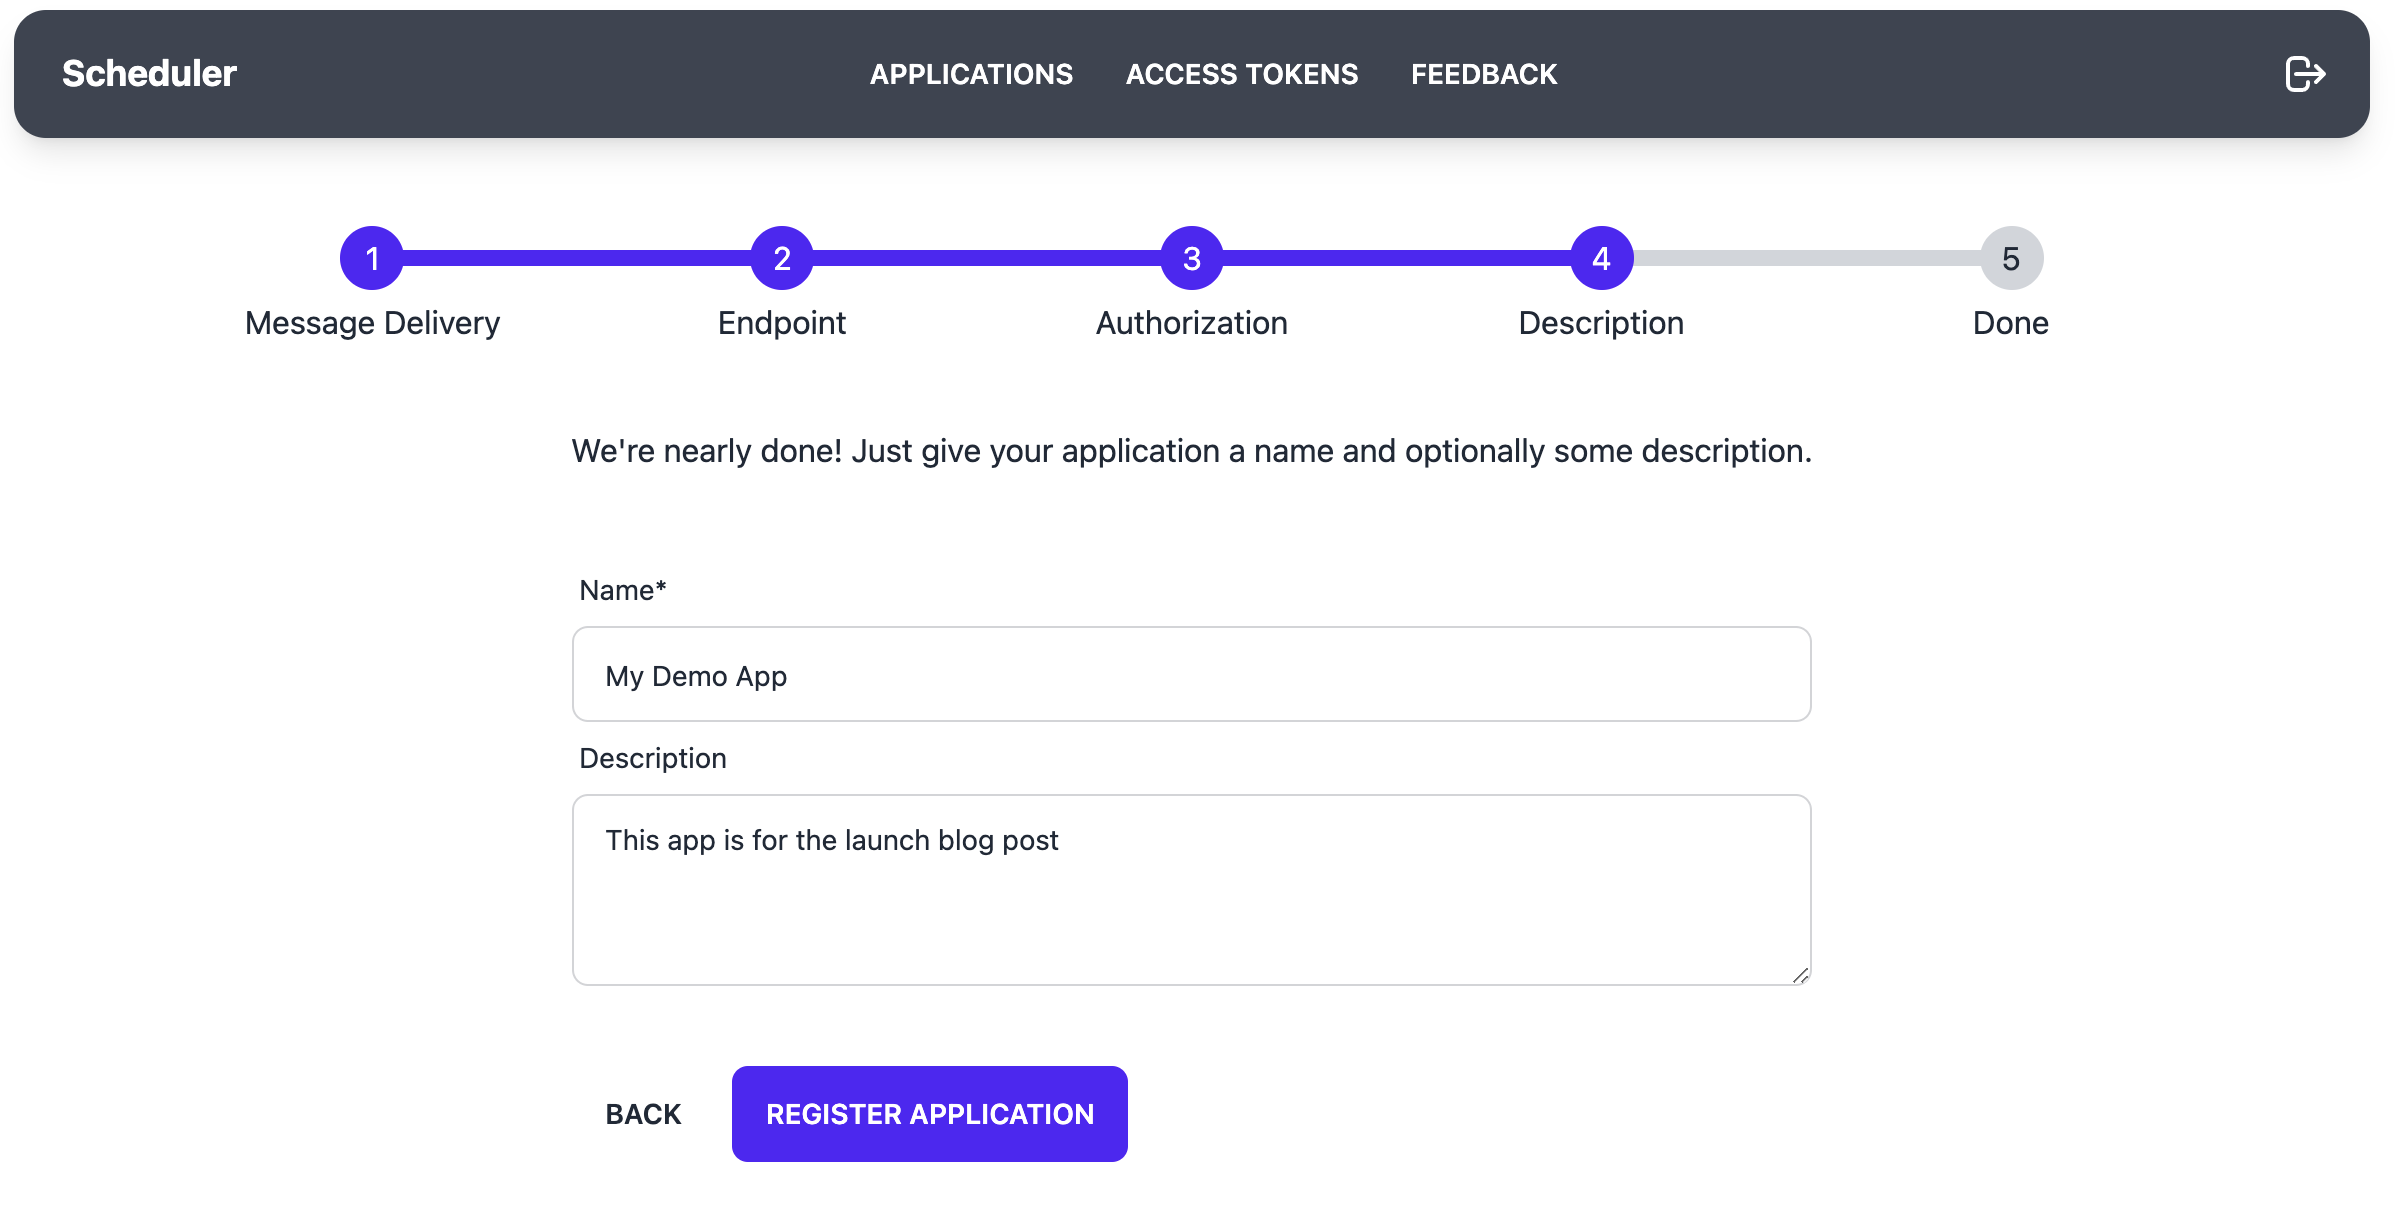
Give your app a name and description, something like “Test App” is enough to later remember what this was for. The description is optional.
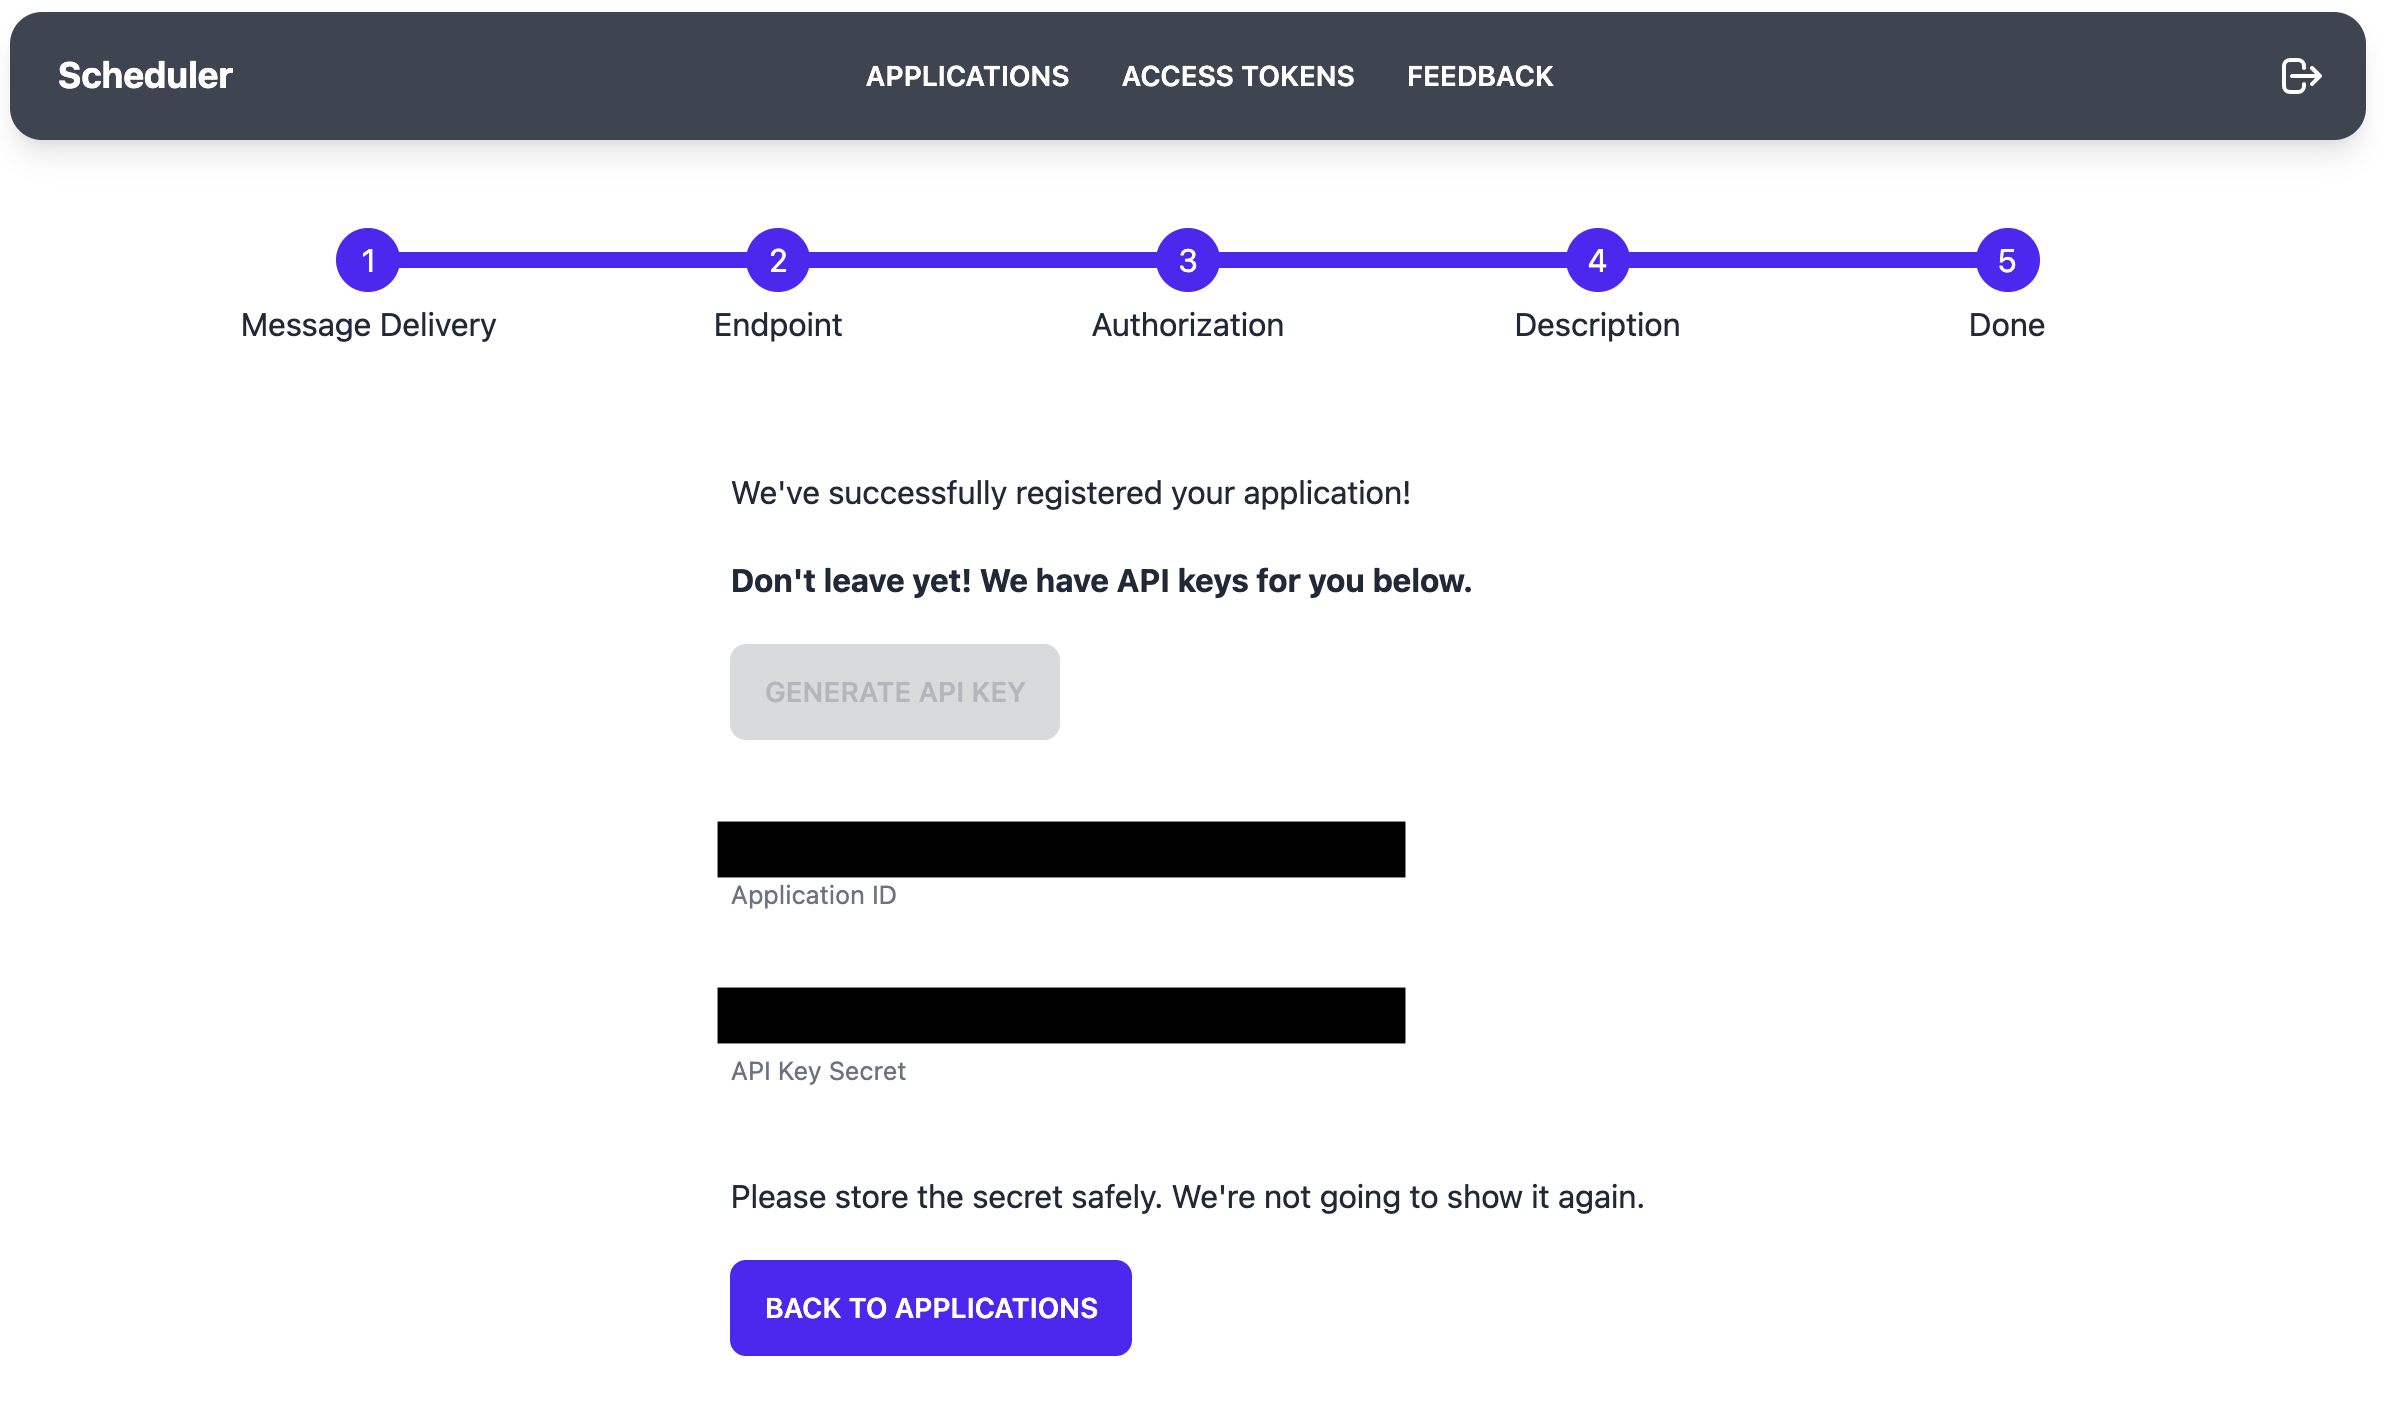
In the last step, you will see an Application ID and an API key. You will need those later to send messages to the scheduler. For this article lets assume we have the Application ID “123” and the API key “S3crEt!”.
Schedule a Message
The scheduler has a REST API with which you can schedule messages:
POST
https://<api-endpoint>/messages

Content-Type: application/json
Authorization: Basic MTIzOlMzY3JFdCE=

{
  "payload": "123",
  "sendAt": "2022-01-05T18:32:42.124Z"
}
To schedule a message, you need a payload (max. 1 KB) which can be a string or an object, a sendAt timestamp (ISO 8601), and an Authorization header.
The payload can for example be an ID that maps to a workload in your application. Please don’t send sensitive data.
The timestamp sendAt must be an ISO formatted string (ISO 8601). If you use Node.JS, you can use new Date().toISOString().
To build the Authorization header, we need three steps. First, take the app ID and the api key, and concatenate them with a colon :. For example 123 and S3crEt! become 123:S3crEt!.
Then base64 encode the concatenated string. For example 123:S3crEt! becomes MTIzOlMzY3JFdCE=.
Finally, set the encoded value as a Basic Authorization header. In our example this would look like the following:
headers: {
  Authorization: "Basic MTIzOlMzY3JFdCE="
}
Everything ready? Now combine that into a JSON request to the scheduler’s API.
Below are some examples. Remember to use your own Application ID and API key.
TypeScript with axios
import axios from 'axios';

await axios.post(`https://<api-endpoint>/messages`, {
    payload: 'test',
    sendAt: new Date().toISOString(),
  }, {
    headers: {
      Authorization: 'Basic MTIzOlMzY3JFdCE='
    }
});
Python with requests
import json
import requests
from datetime import datetime

message = {
    "payload": "test",
    "sendAt": datetime.now().isoformat()
}

headers = {
    "Authorization": "Basic MTIzOlMzY3JFdCE="
}

response = requests.post(
    'https://<api-endpoint>/messages',
    data=json.dumps(message),
    headers=headers
)

print(response.status_code)
Receive the Message
Open the logs of your endpoint and wait until the timestamp specified above passes. Within a few seconds of the timestamp the message should arrive at your endpoint. Received your message? Congratulations! It’s that simple!
If the message doesn’t arrive, please make sure your endpoint is publicly accessible, and that you specified the right authorization parameters. Feel free to reach out to me to debug issues as well.
In the dashboard of the scheduler you can also navigate to the application, and then view its messages. It will tell you if a message is pending, successful, or has failed.
If a message is pending, you can abort it. If a message failed, you can redrive it by clicking the according button.
These operations will soon be available as APIs.
Service Guarantees
The scheduler guarantees at-least-once delivery. Due to the nature of distributed systems, messages can arrive more than once in rare cases. Please make sure that your service uses an idempotent mechanism if necessary.
If your API does not return a 200 OK status code, the scheduler will retry up to 2 times with an exponential delay before marking a message as failed. Once a message has failed, you can redrive it.
You may abort messages up until the last moment. Please note that this is on a best effort basis, and messages may already be in flight if you abort it within the last seconds (REST) or minutes (SQS).
The scheduler is currently located in AWS’ us-east-1, and will soon be available in other AWS regions as well. In case of an outage, you may not be able to schedule new messages for a while. Already scheduled messages will keep the at-least-once delivery guarantee. They will arrive at your endpoint as things recover.
Service Limits
There are soft and hard limits. If you want to raise a soft limit, please send a request. If you think a hard limit is too limiting, please share your thoughts!
Soft Limits
Each account can register up to 10 applications. This is a soft limit and can be raised.
The scheduler API has a default throttling limit of 100 messages per second, and a quota 10,000 messages per day. This is a soft limit and can be raised.
Hard Limits
Each payload must be no more than 1 KB large. This is currently a hard limit, but may be changed based on your feedback.
Your API must finish the request within 2 seconds. The scheduler will not wait longer, and mark the message as failed. Please consider adding your own queuing mechanism (e.g. with SQS) if you expect tasks to take longer.
Pricing
The public preview’s purpose is to collect feedback, and get more data on usage and cost. You’re not charged at the moment, but once the Point In Time Scheduler reaches general availability, there will be a usage based pricing.
Shouldn’t cloud providers offer this serverless primitive?
Yes, absolutely! I hope that I can eventually retire this service when there’s a cheaper and better solution out there. Until then, I’ll try my best to help you with this offering.
Share your feedback!
Please share your feedback on Twitter.
I’m looking forward to hearing from you!
Enjoyed this article? I publish a new article every month. Connect with me on Twitter and sign up for new articles to your inbox!